
August 5, 20267 min read
How to Frame Pressed Flowers So They Last (Step-by-Step)
You pressed the flowers. They're flat, dry, and beautiful — and now they're sitting between two sheets of parchment because you're not sure what to do next. Framing is where most pressed flower projects either become something you hang on the wall or something you find in a drawer three years later, faded and stuck to the paper.
The difference comes down to four things: what you mount them on, what you stick them down with, how you handle the glass, and where you hang the finished piece. Here's how to get all four right.
Step 1: Choose the right frame
Pressed flowers are thin, but they aren't flat like a photograph. A stack of overlapping petals can sit 2–3 mm proud of the backing. If you press that against glass in a standard slim frame, you'll crush the texture that makes the piece interesting — and trap moisture against the petals.
- Shadow box or deep-rebate frame — the safest choice. The extra depth keeps the glass off the petals.
- Standard frame with a mat board — the mat acts as a spacer, lifting the glass a couple of millimetres. This is the most common approach and works well for single-layer designs.
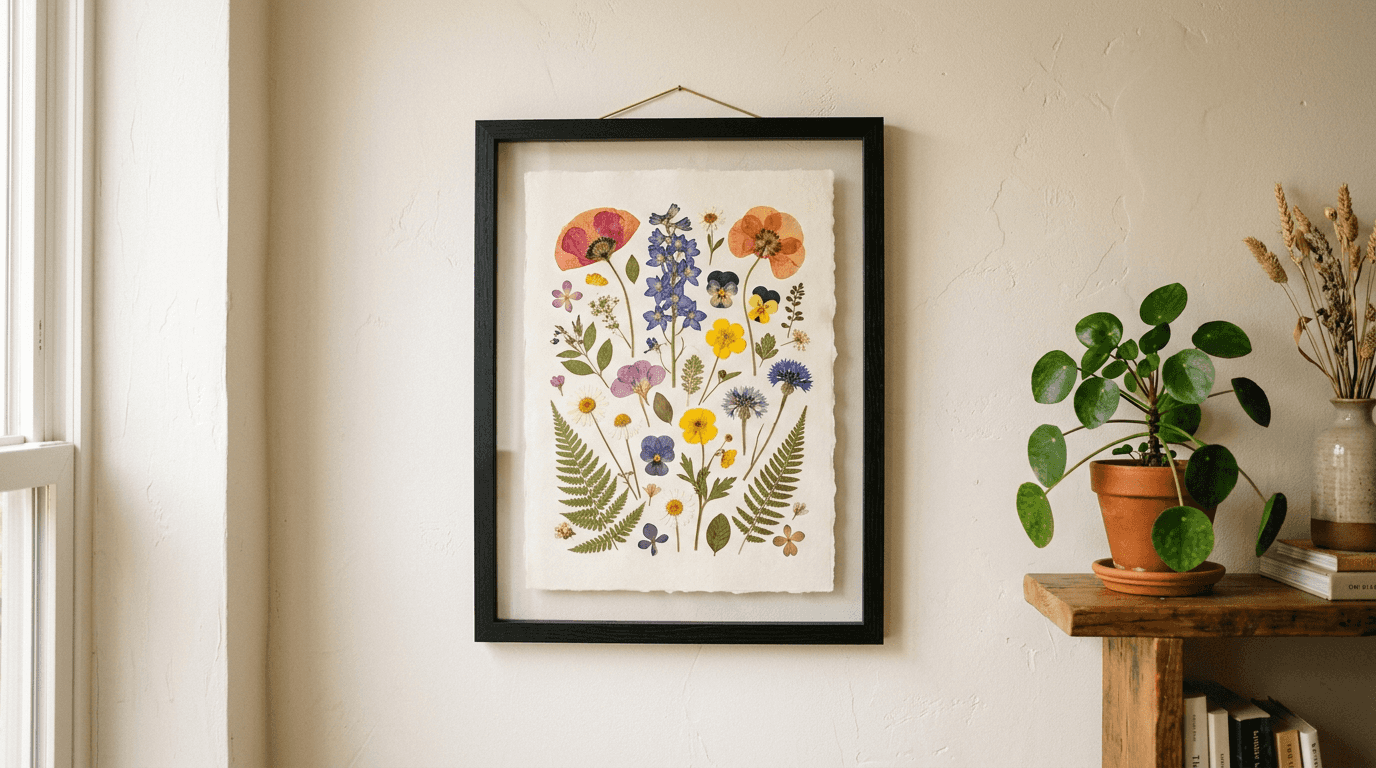
- Float frame (glass on both sides) — striking for translucent specimens like ferns and larkspur, because light passes through. Not ideal for thick, layered arrangements.
Size matters more than people expect. A 5×7 in landscape frame is the sweet spot for a single subject — big enough to show detail, small enough to sit on a shelf or group in a gallery wall. It's the format we standardised on for every Petal Craft Social kit.
Step 2: Pick a backing that won't yellow
The backing is the surface your flowers sit on, and it's the single biggest factor in how the piece ages. Cheap craft card contains acid, and acid turns paper brown and makes petals brittle. Look for acid-free or archival on the label.
Good options, roughly in order of how often we reach for them:
- Acid-free cardstock in cream or soft white — the default. Warm whites flatter pink and purple botanicals; cool whites suit greens and blues.
- Handmade or textured paper — adds depth, but keep the texture subtle or it competes with the petals.
- Linen or cotton fabric stretched over card — a lovely, slightly rustic look.
- Glass-on-glass with no backing at all — modern and airy, but every stem shows, so your arrangement has to be perfect.
Step 3: Use as little adhesive as possible
This is where good projects go wrong. Wet glue soaks into a dried petal and leaves a dark translucent patch that never goes away — and it usually shows up an hour after you've finished, when it's too late.
The rule: the least adhesive that will hold, placed where it won't show.
- A pinpoint of white craft glue (PVA) on the thickest part of the flower — the calyx or stem base, never the middle of a petal. Apply it with a toothpick, not the bottle.
- Acid-free glue dots or archival tape on the back of sturdier leaves.
- No adhesive at all— press the arrangement between the backing and the glass and let the frame hold everything in place. This is genuinely the best option for delicate specimens, and it's reversible if you want to rearrange later.
Whatever you use, lay the whole design out beforeyou stick anything down. Photograph it with your phone so you can rebuild the arrangement if a petal shifts while you're gluing.
Step 4: Assemble in a dust-free order
- Clean both sides of the glass and let it dry completely. Any fingerprint you leave now is sealed in permanently.
- Lay the glass down, then the mat or spacer, then your arranged backing face-down onto it. Working glass-side-down means gravity holds your arrangement in place instead of fighting you.
- Add the frame's backing board and secure the clips or tabs.
- Turn it over and check for stray fibres or a shifted petal before you seal the back. Compressed air or a soft brush handles dust; a lint roller does not.
How to stop pressed flowers from fading
Every pressed flower fades eventually — it's organic material, and light breaks down pigment. But the difference between two years and twenty is almost entirely about where you hang it.
- Keep it out of direct sunlight. This is 90% of the battle. A south-facing window will visibly bleach reds and purples within a season.
- Consider UV-filtering glass for a piece that matters. It costs more and it is worth it for a wedding bouquet or a memorial arrangement.
- Avoid bathrooms and kitchens. Humidity swings cause condensation inside the frame, and moisture is what causes mould spotting.
- Expect some colour shift anyway. Blues and deep reds are the least stable; yellows, greens and whites hold up best. Many people find the softened, antique palette an improvement.
The shortcut: start with a kit
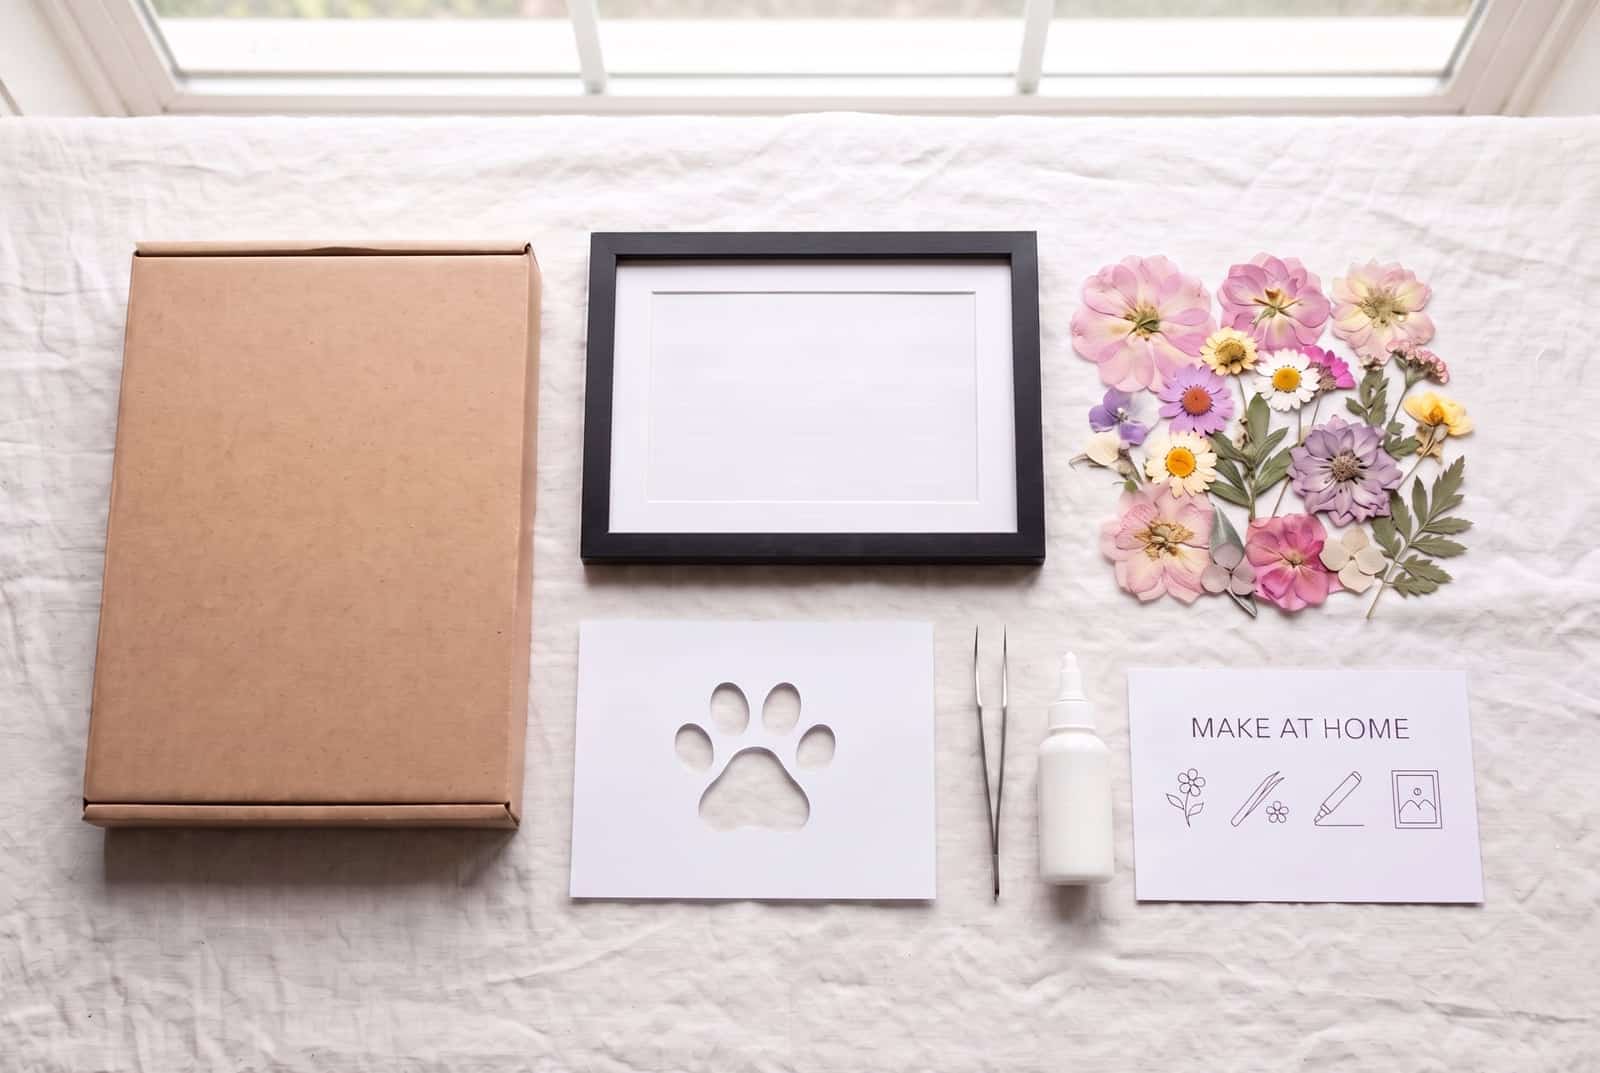
Sourcing an acid-free backing, a deep-enough frame, the right glue and a set of properly pressed botanicals usually means three separate orders and a lot of guesswork about quantities. Every pressed flower kit we ship includes the frame, real pressed flowers and foliage, a die-cut card stock design, white craft glue, tweezers and step-by-step instructions — sized for the 5×7 landscape format described above, so the proportions are already solved.
If you'd rather press your own first, start with our guide to the four flower-pressing methods and come back here when they're ready to mount.
Frequently asked questions
- How do you frame pressed flowers so they don't fade?
- Fading is almost entirely about light and moisture, not the frame itself. Keep the finished piece out of direct sunlight (a south-facing window will bleach reds and purples within a season), use UV-filtering glass for anything you want to keep for years, and avoid humid rooms like bathrooms and kitchens where condensation can form inside the frame. Mounting on an acid-free backing also stops the paper from yellowing and turning the petals brittle.
- What glue is best for pressed flowers?
- Use as little adhesive as possible — a pinpoint of white craft glue (PVA) applied with a toothpick to the thickest part of the flower, like the stem base or calyx, never the middle of a petal. Wet glue soaks into a dried petal and leaves a permanent dark patch. Acid-free glue dots or archival tape work for sturdier leaves, and for delicate specimens you can skip glue entirely and let the glass and backing hold everything in place.
- Do you need special glass to frame pressed flowers?
- Standard glass is fine to start, but pressed flowers sit 2–3 mm proud of the backing, so you need depth — a shadow box, a deep-rebate frame, or a standard frame with a mat board acting as a spacer — so the glass doesn't crush the petals. For a piece that matters, such as a wedding bouquet or a memorial, UV-filtering glass is worth the extra cost because it slows fading.
- How do you frame pressed flowers between glass?
- For a float or glass-on-glass look, clean both panes completely (any fingerprint is sealed in permanently), lay the flowers directly on the bottom pane, then set the top pane over them and secure the frame's clips. It suits thin, translucent specimens like ferns and larkspur because light passes through; it's not ideal for thick, layered arrangements, which need a backing and a spacer instead.